Terrain Shading without Visible Repeating Patterns
Performance is one of the biggest challenges to consider when building terrains. Traditional terrain approaches make extensive use of decorative meshes in the form of grass and minor flora to hide the artificial look from visible repeating patterns from tiling textures over large stretches.
The reason is that because for reasonable sized textures for real-time game engines have to make a tradeoff between how much area it can cover and how much close up detail it can capture. And the greater the level of specific detail, usually the easier it becomes to see repetitions in the texture.
Here, I blend several techniques to break up that repeating pattern without impact to close up texture detail.
Techniques
Jane Ng - Firewatch Environment Design
I was inspired by Jane Ng’s approach to Environment Design. She pointed out that minor rotations of complex objects, like trees, made it very difficult for people to tell whether two trees were identical. She talks about how that trick, at scale, meant that she was able to craft a really rich environment with far fewer total assets than a player would be led to believe through play alone.
That rotation trick of the eye is the basis of this tiling terrain shader. By rotating the texture at sufficient intervals, it becomes significantly more difficult to perceive any repetition to the texture at any scale of observation.
Procedural Texture Manipulation
Blender’s shading editor allows for a high degree of control of the entire rendering process - this includes the ability to high manipulate texture application across UVs. Various techniques exist to manipulate texture application across surfaces to disrupt visible patterns.
However, many of the techniques available to offline renderers are not viable in real-time contexts because performance considerations. By researching a handful of techniques used in offline renderers, I found a handful of insights that helped me come up with a suitable real-time implementation (discussed below).
Perlin Noise
Ken Perlin’s original Perlin Noise implementation uses a great technique for contiguous procedural pseudo-random generation. The basis of Perlin Noise calculates hash-derived values at fixed intervals called nodes, breaking down the whole number count to index from a hash table and using the fractional remainder between nodes to control interpolation.
In this implementation, I use that same concept along the U and V axes to take arbitrary values based on node values to determine tile rotation magnitude, and the fractional remainder to control bilinear interpolation to blend across tiles.
Insights
There was little advantage to irregular intervals and borders. Strictly speaking it was “better” but not by a sufficient margin to justify the cost of more expensive calculations and memory intensive buffers.
Two-layer cross interpolation approaches, which would be highly performant, produced adequate results at close-up intervals with limited range, but at higher visible ranges it became easier to observe patterns, even when broken up.
A minimal amount of tiled rotation was necessary to break up visible patterns. Because patterns are most observable at low angles of observations (closer to parallel to a surface), it is only necessary to throw patterns off by enough to break up rectilinear repetition.
Tiling density is a matter of taste and the specificity of the texture. Highly specific textures should having a tiling density less than 3 times the texel density, though up to 4 times is viable with sufficient blending margins.
An excessively high tiling to texel density ratio can create too much breakup in the visible texture and result in muddiness.
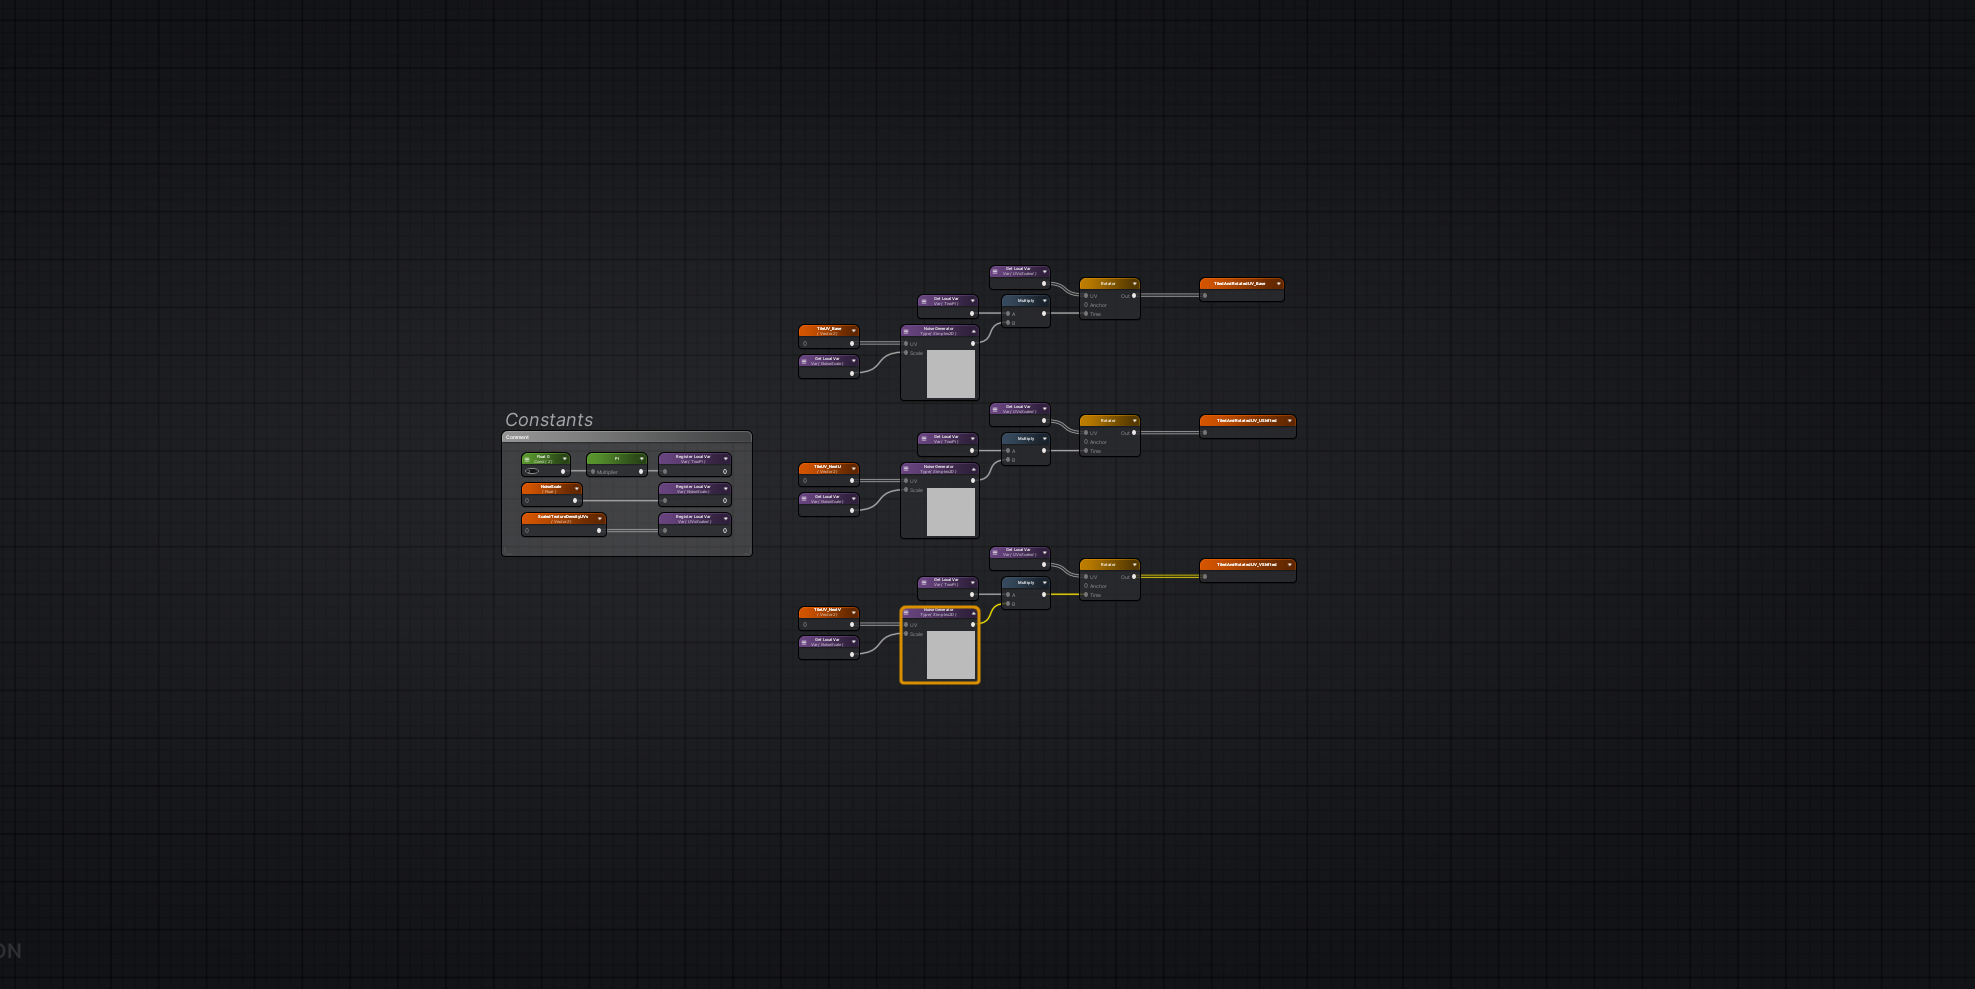
Solution Steps
Calculate and store values - texture scale, node scale, node reference across UV space, and node shifted values for interpolation (recommend just incrementing U and V at nodes by 1).
For each tile node, apply a procedural rotation to UV values from the tile center and use these rotated and tiled UVs to sample texture.
Calculate “t” value for interpolation between nodes. I used a sine wave for an aggressive but feathered falloff. These “t”, or “timing” values should correspond to the tile border edges.
Use bilinear interpolation to smooth at U and V axes to offset tiles to create blended regions between tiles.